Blue Altezza Project

What happened?
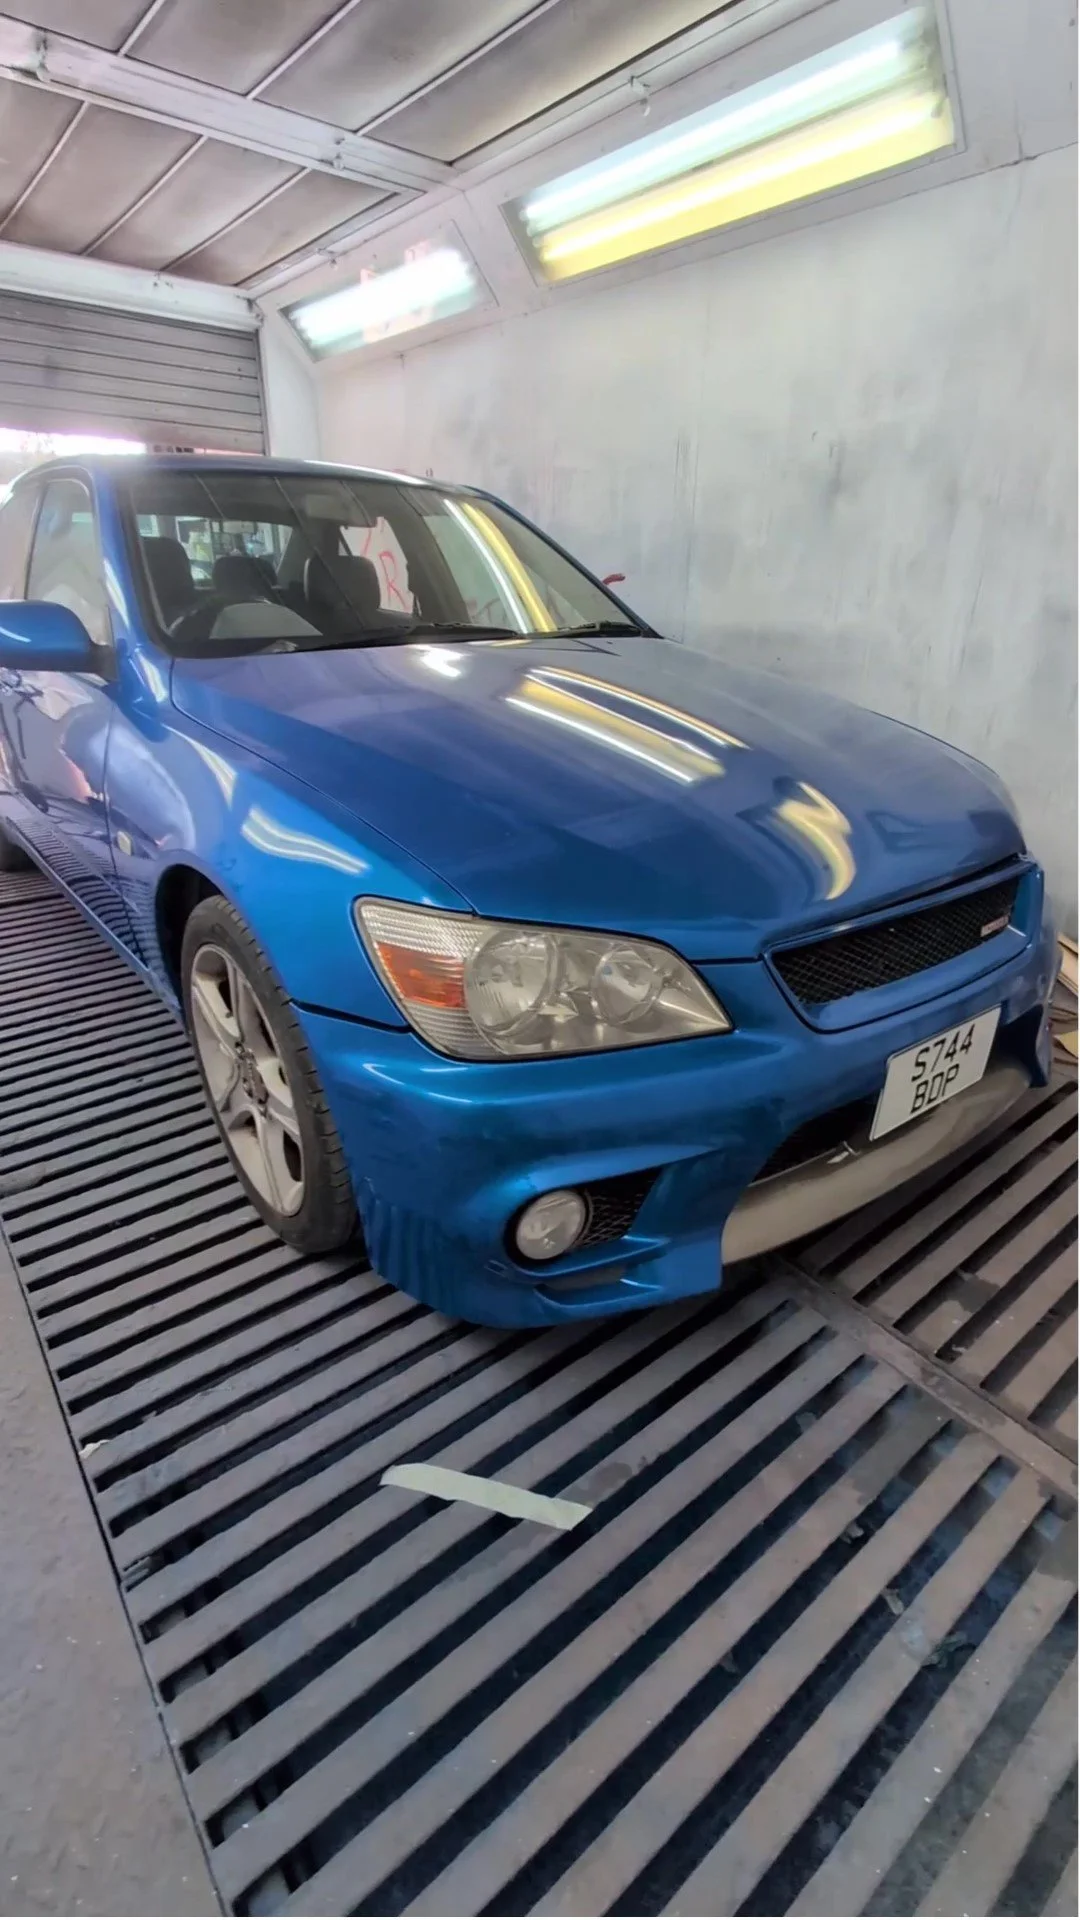
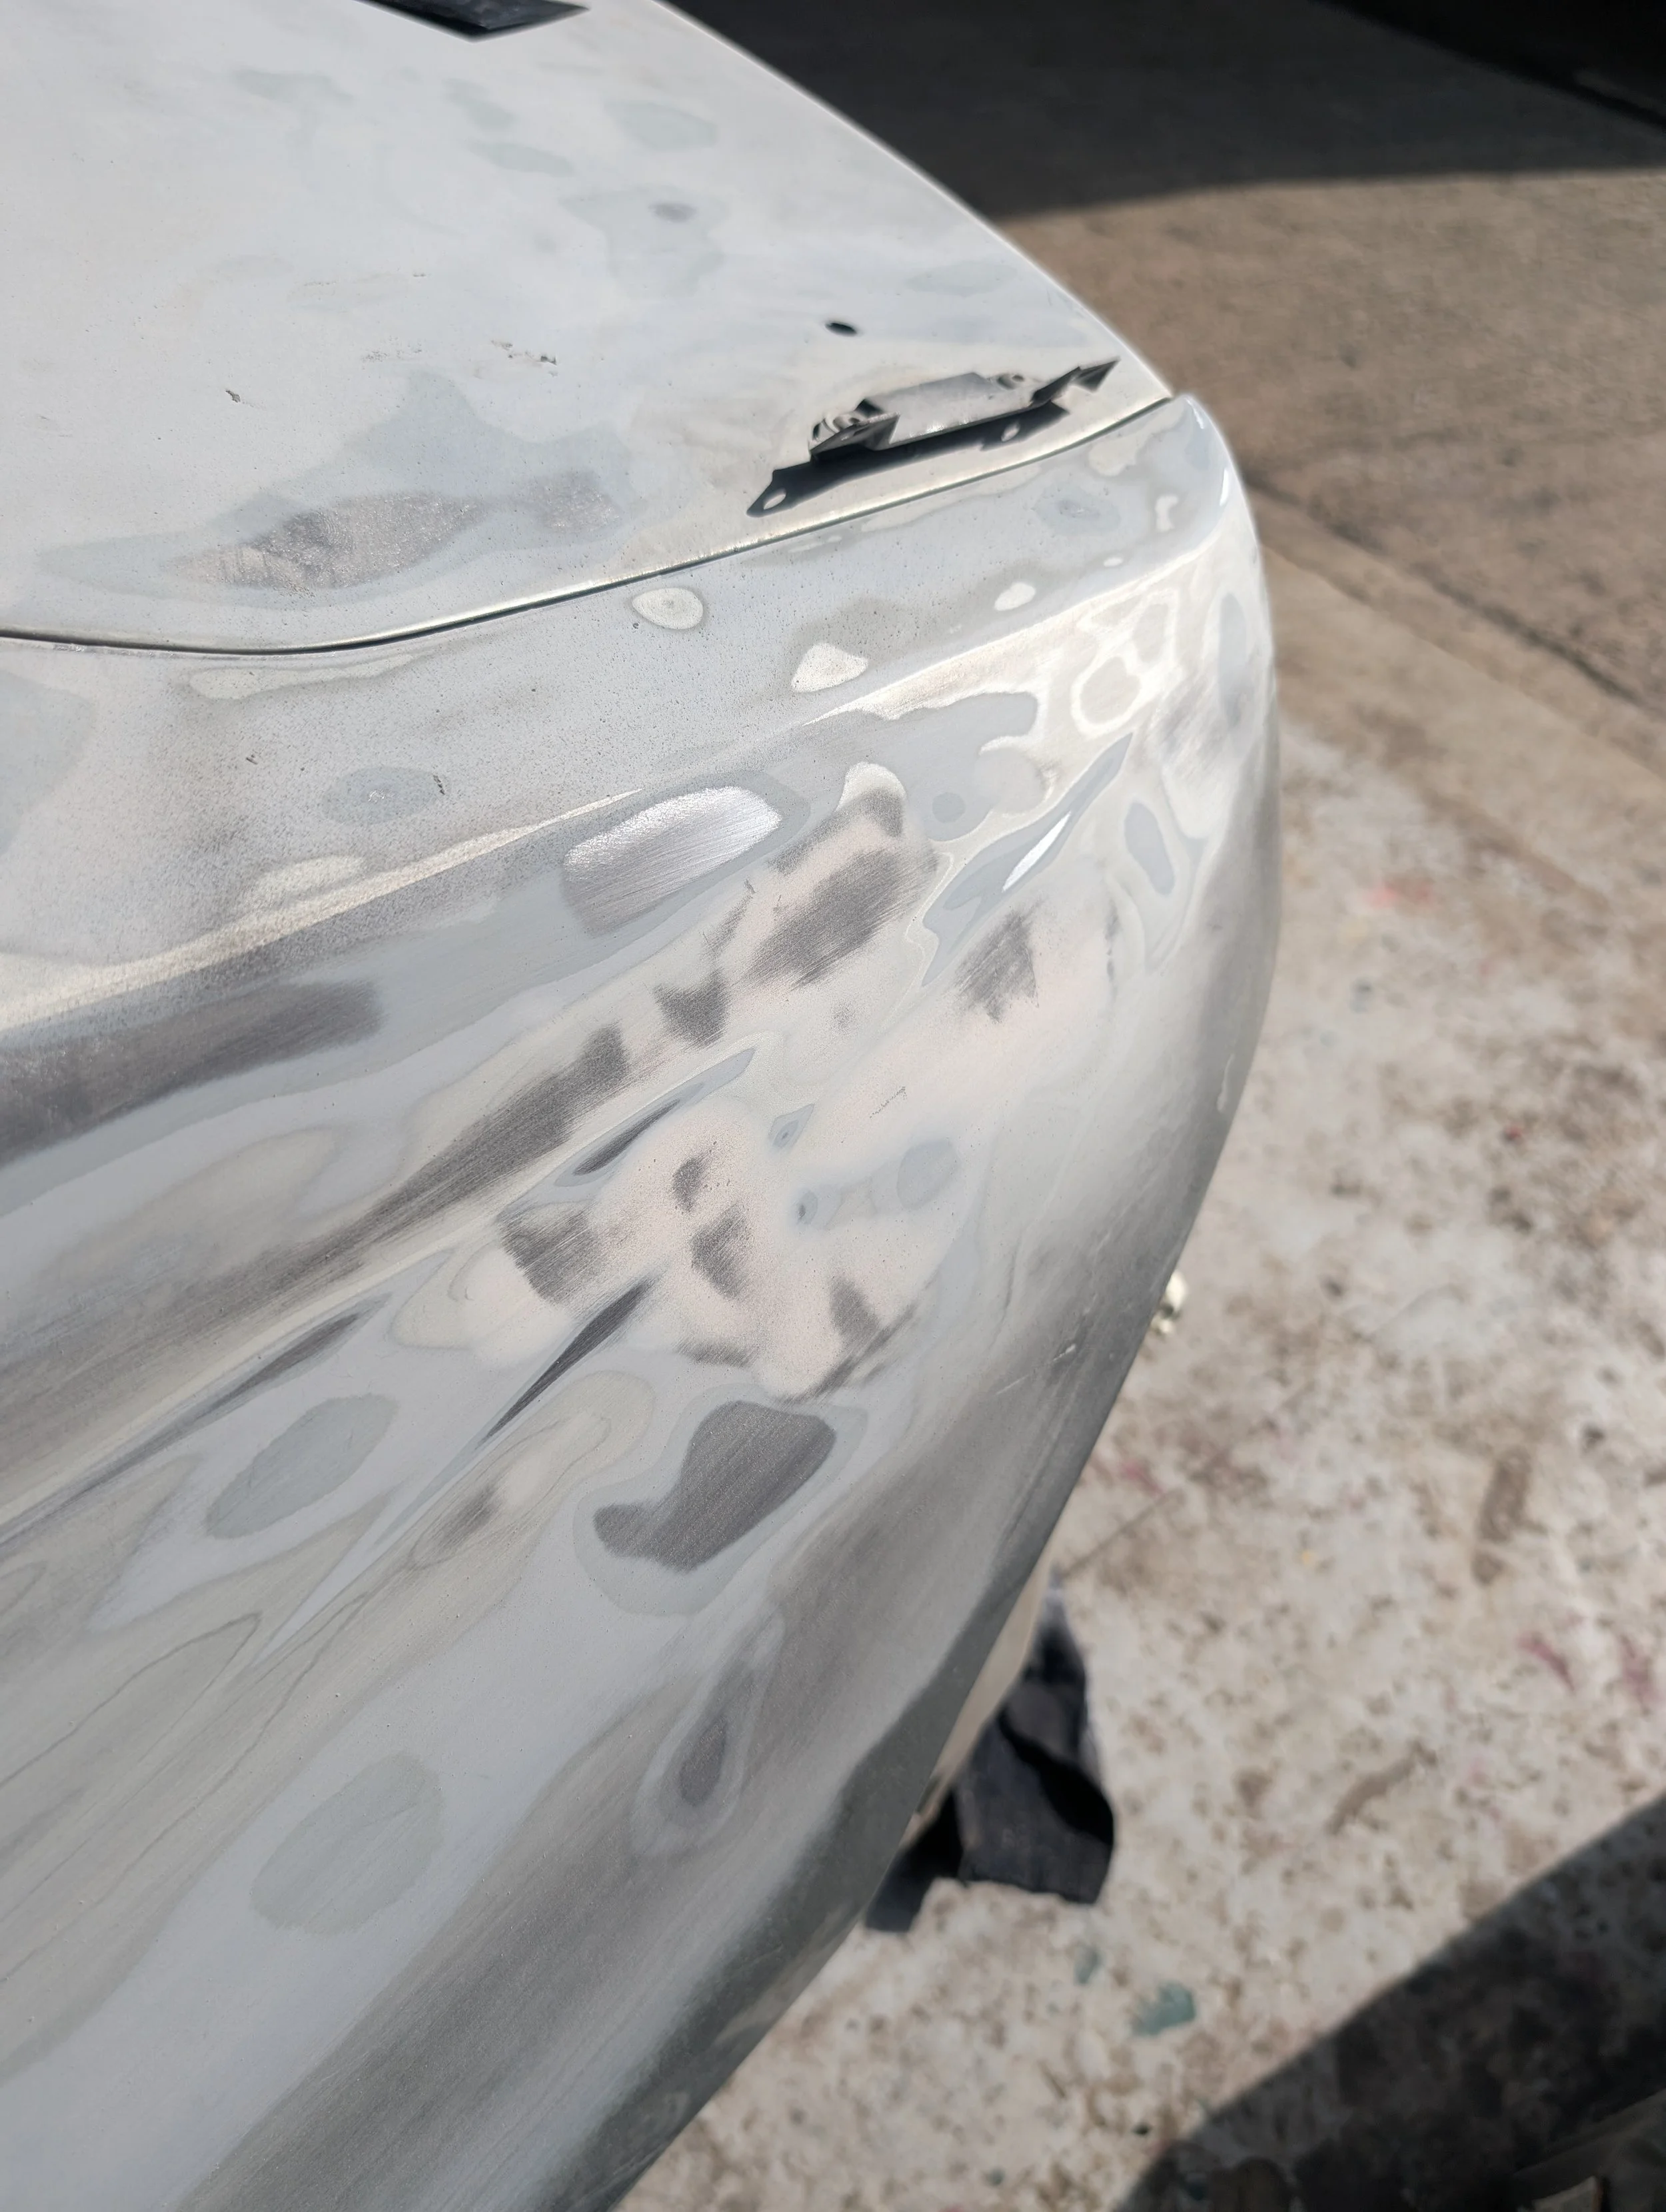
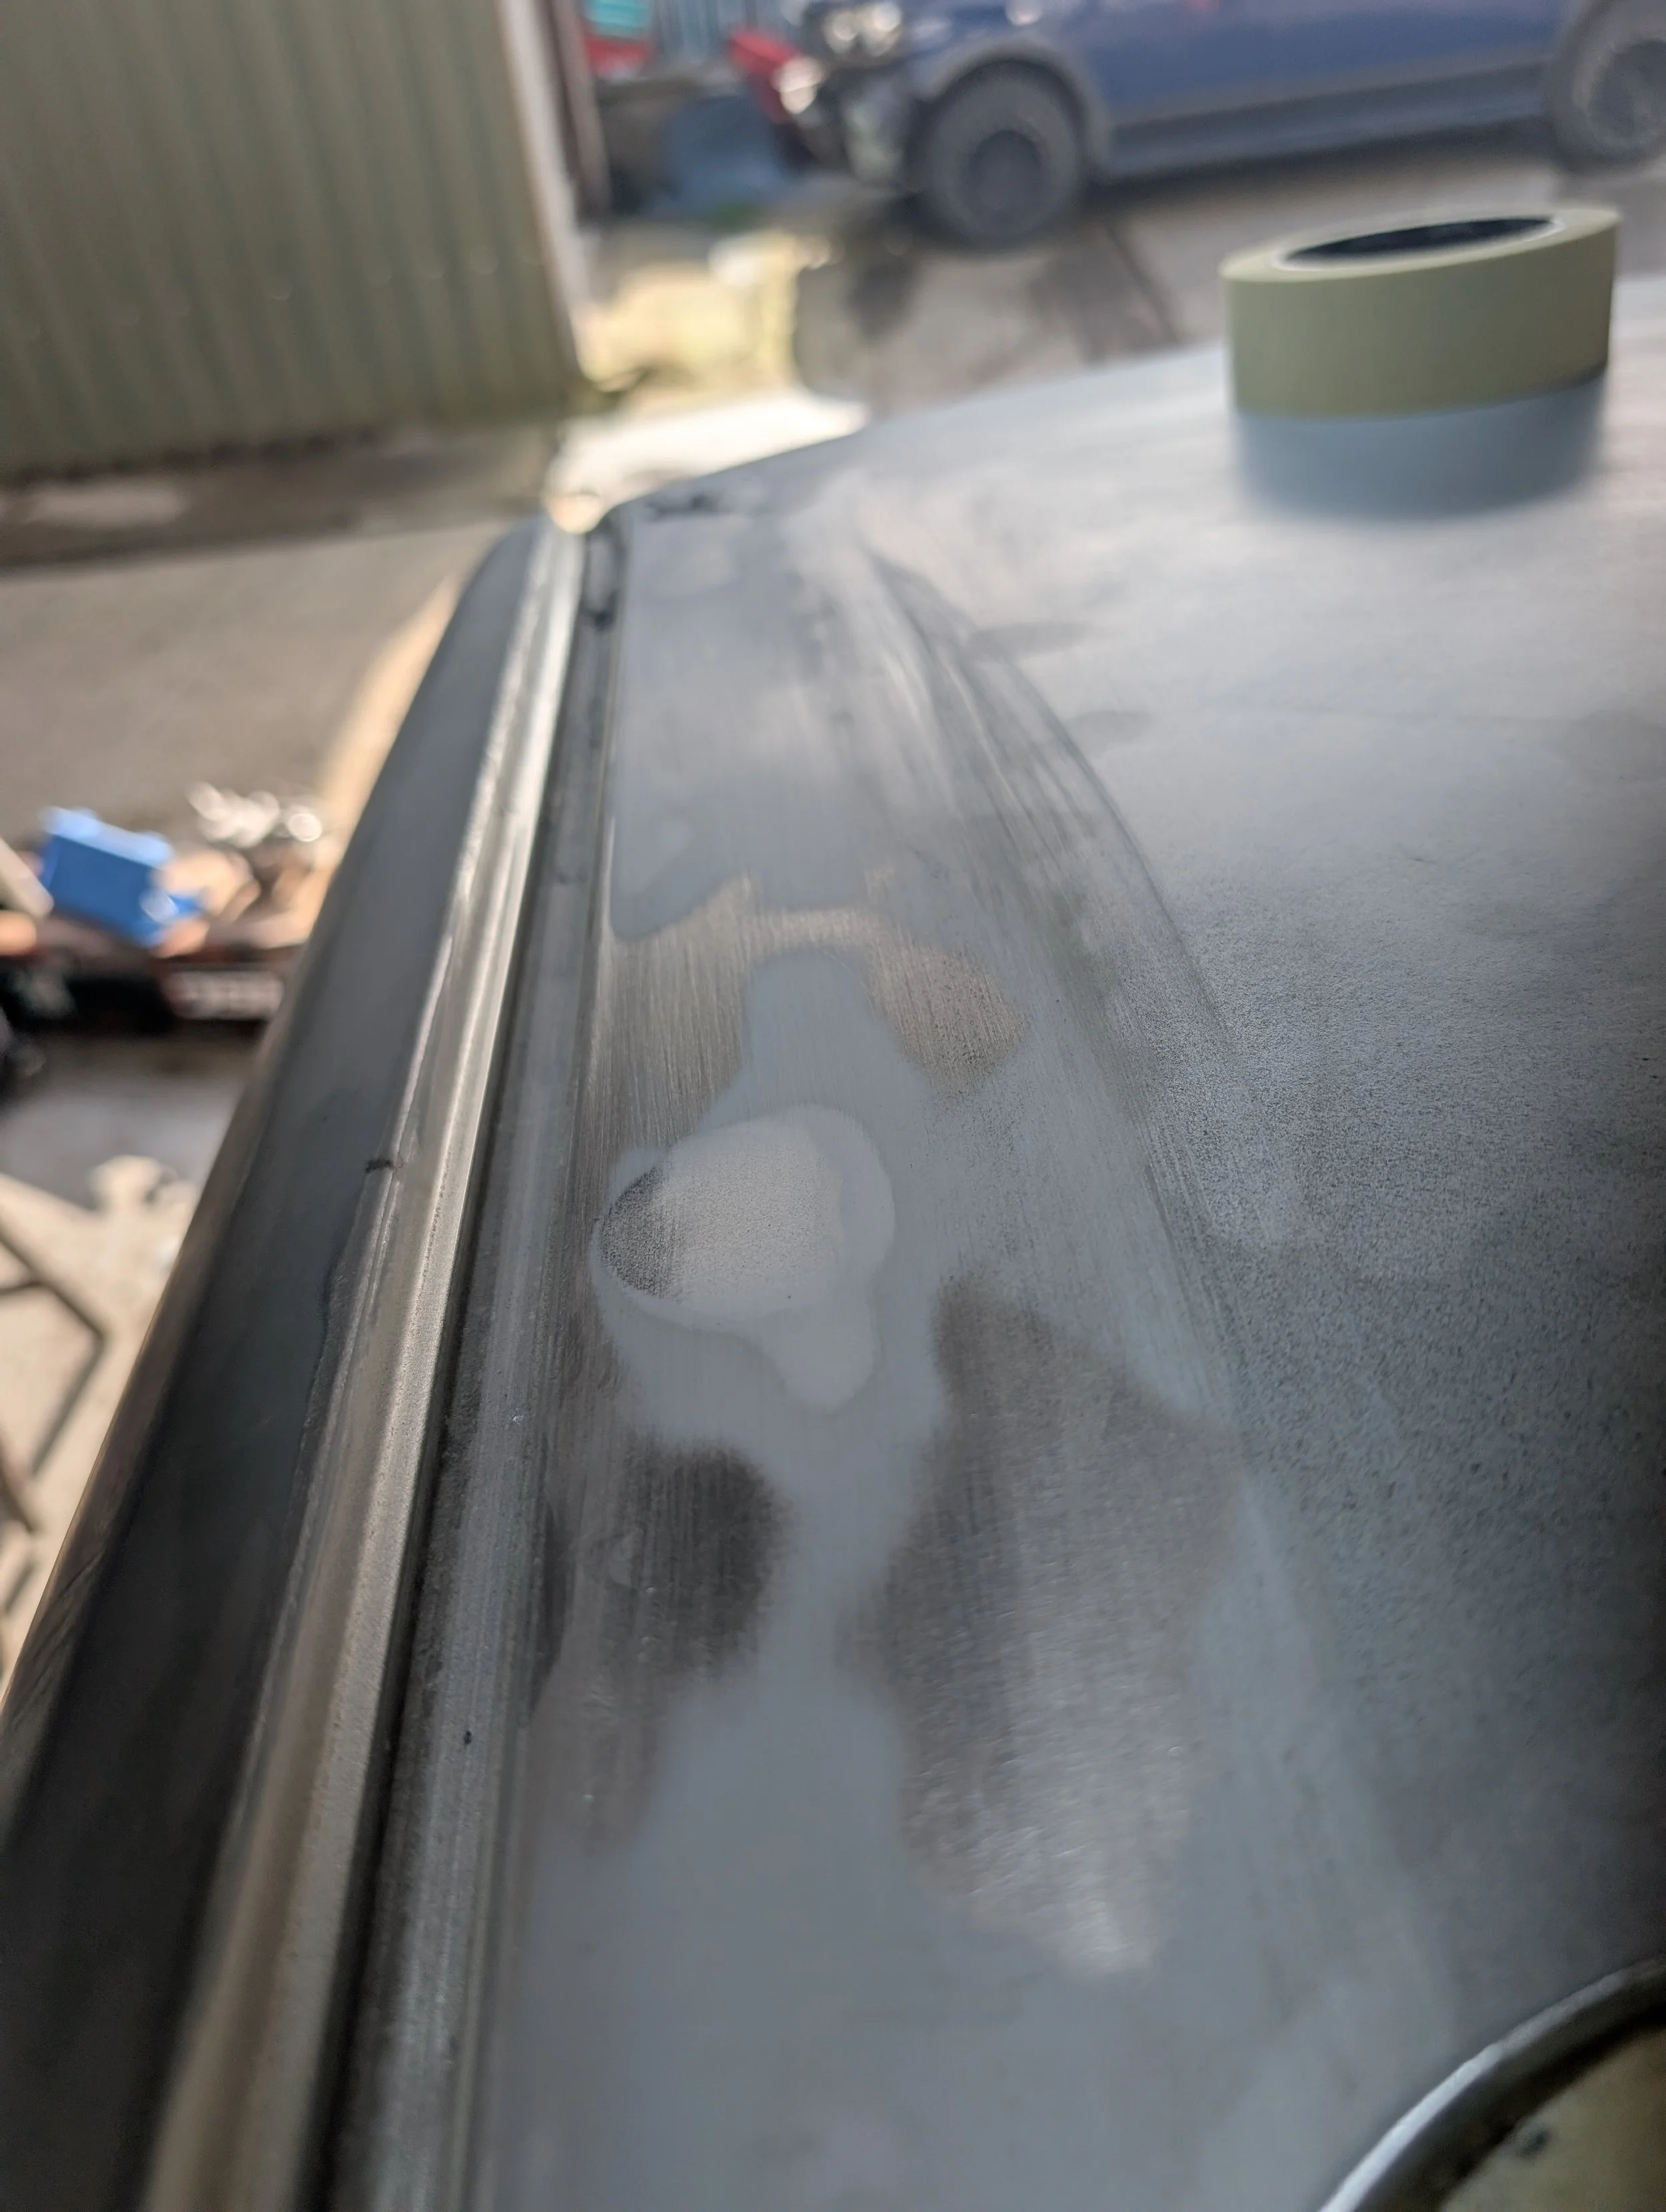
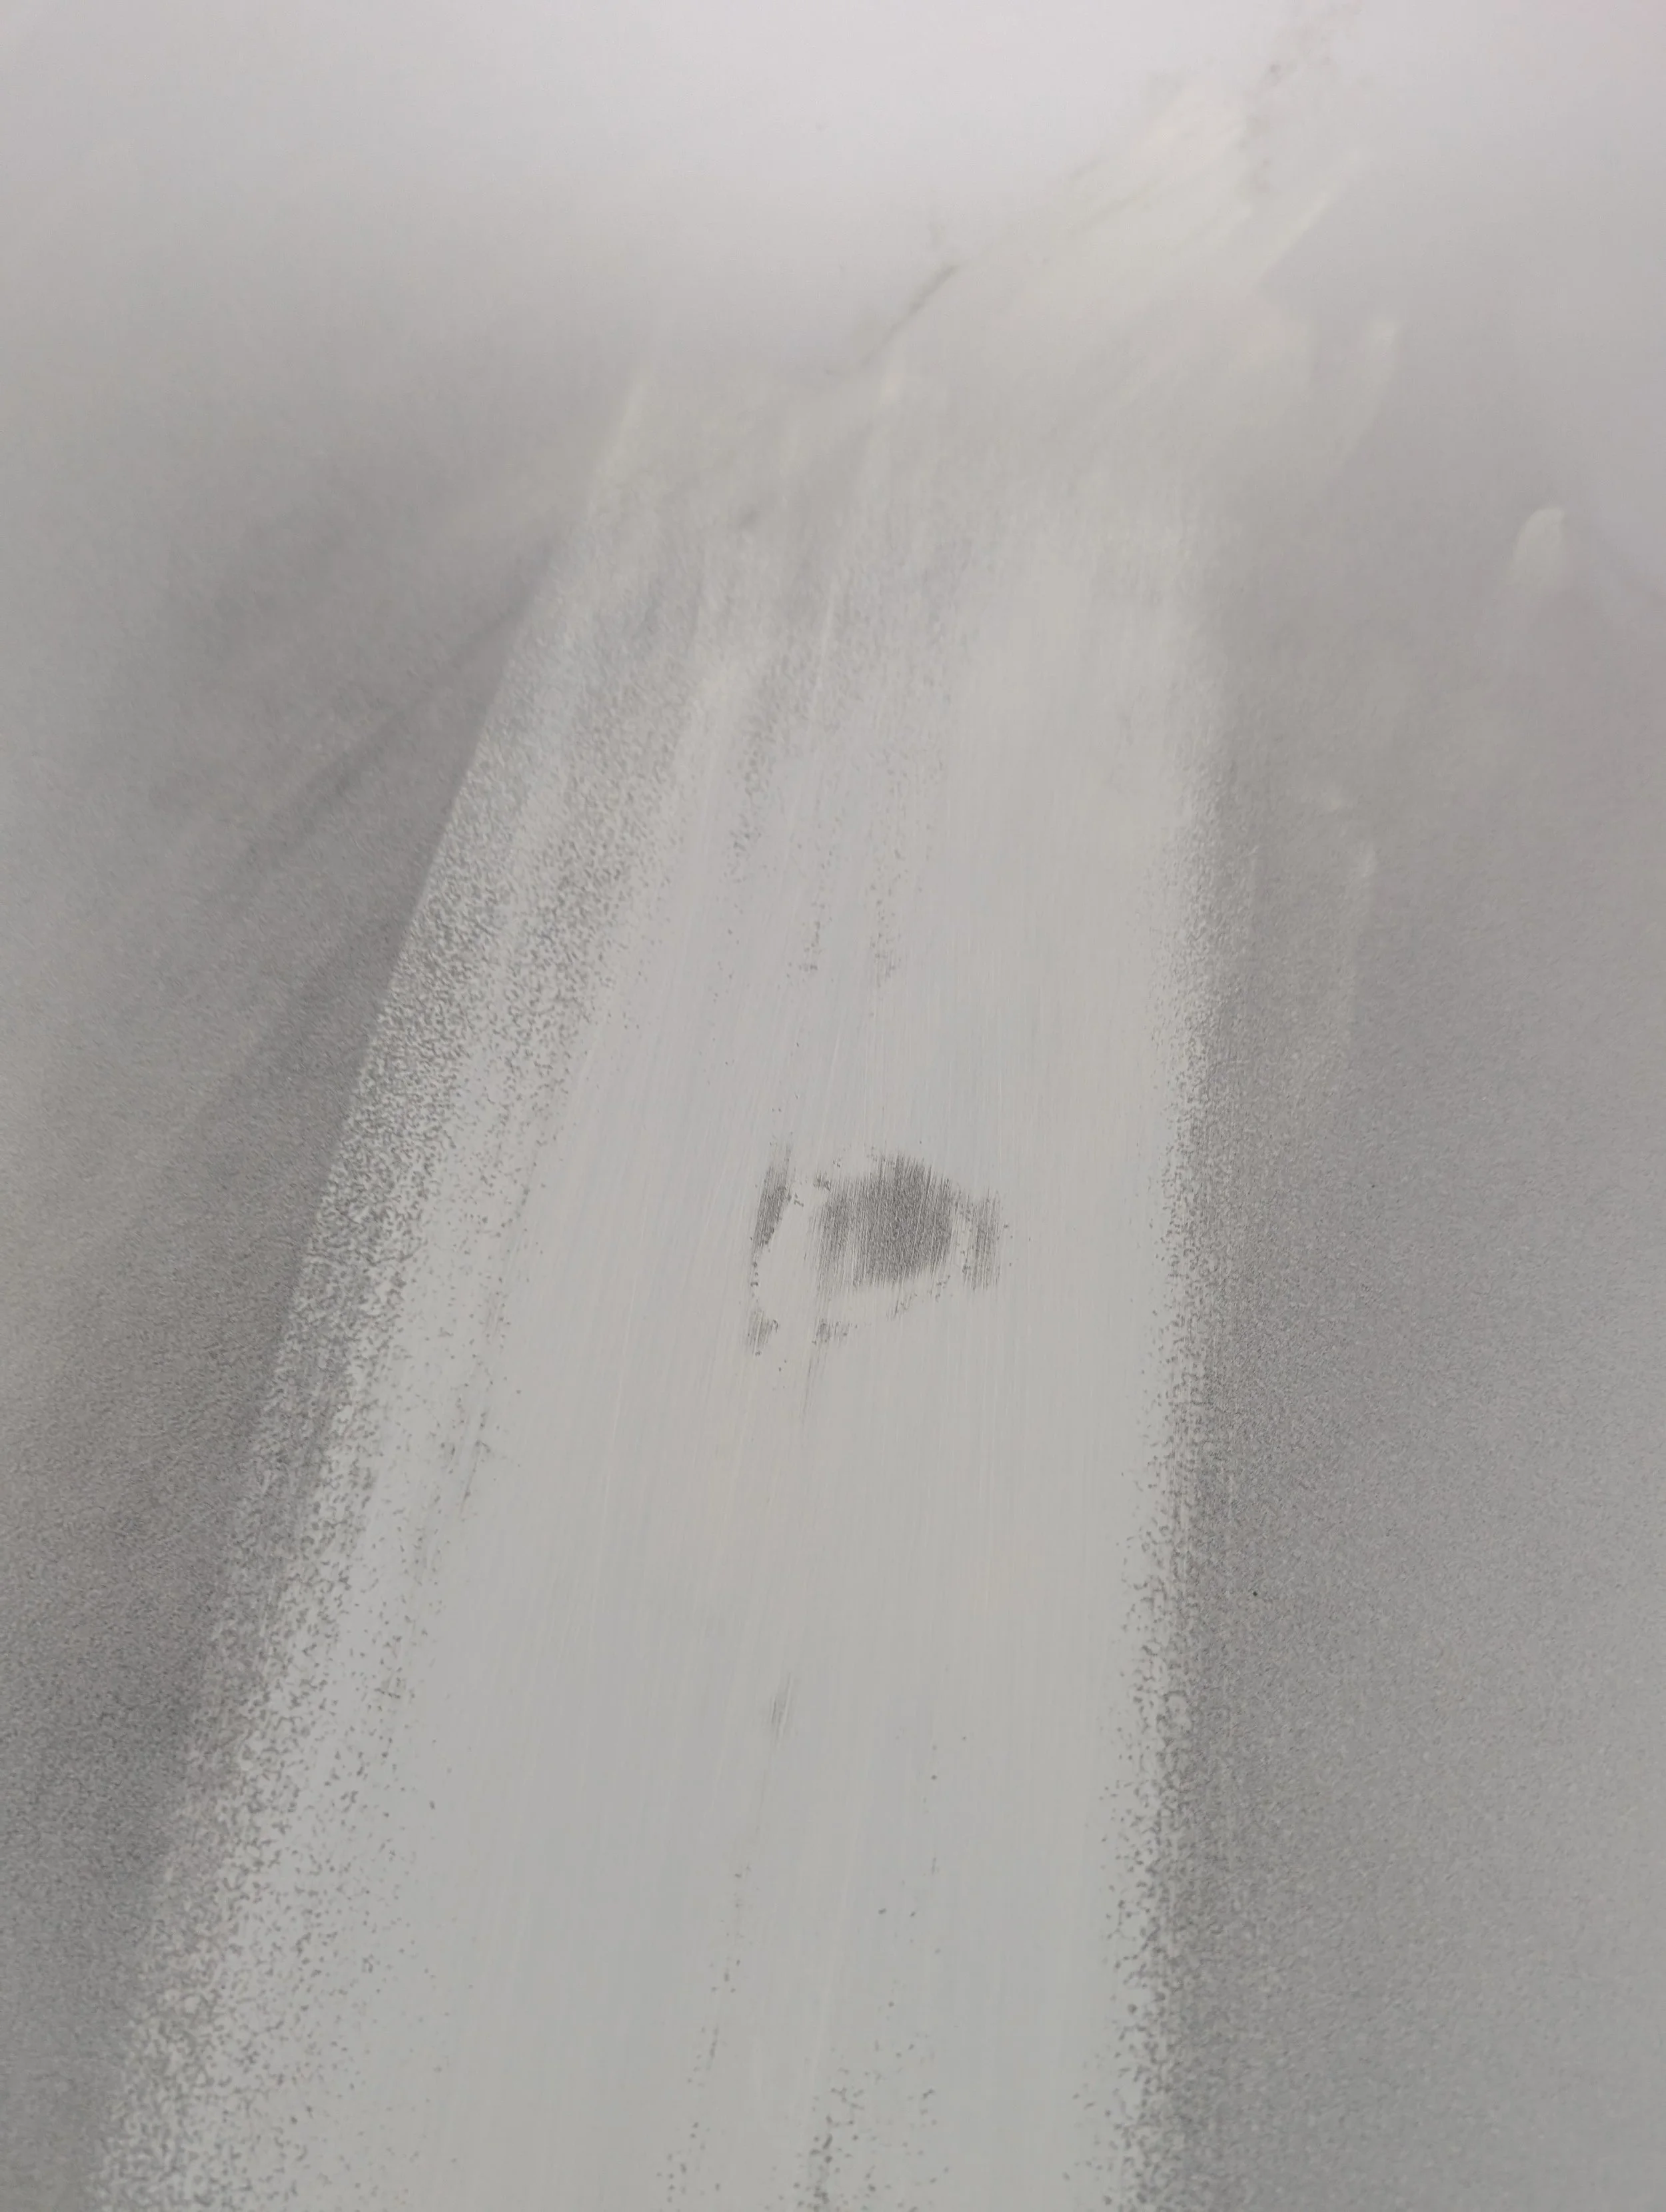
This Altezza came in with some of the worst lacquer peel I have ever seen. There wasn’t a single panel that had not been affected. With the only way to fix it being a full respray the customer opted to go all out and chose a really nice Mitsubishi Fiji Blue. Something a little different and something a bit more special.
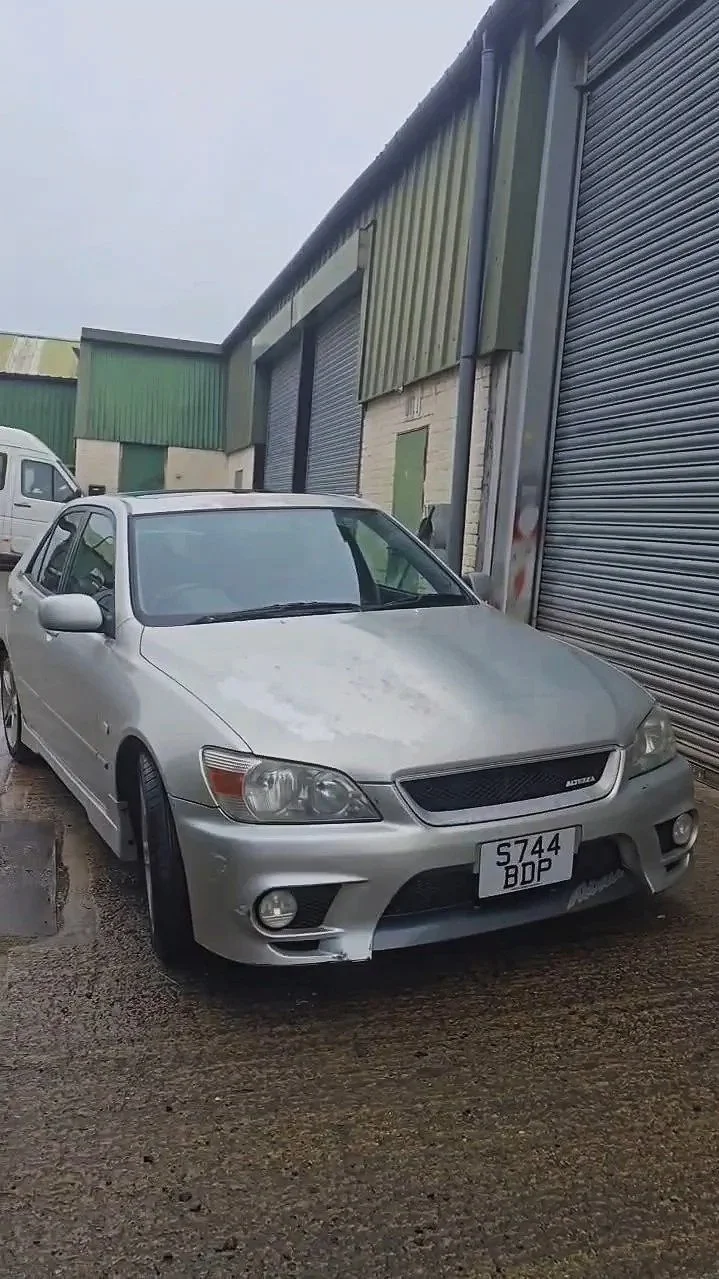
However the lacquer peel wasn’t the only issue, the car was covered in small golf ball sized dents, as well as some damage on both the front and rear bumpers, which all involved a fair amount of attention.
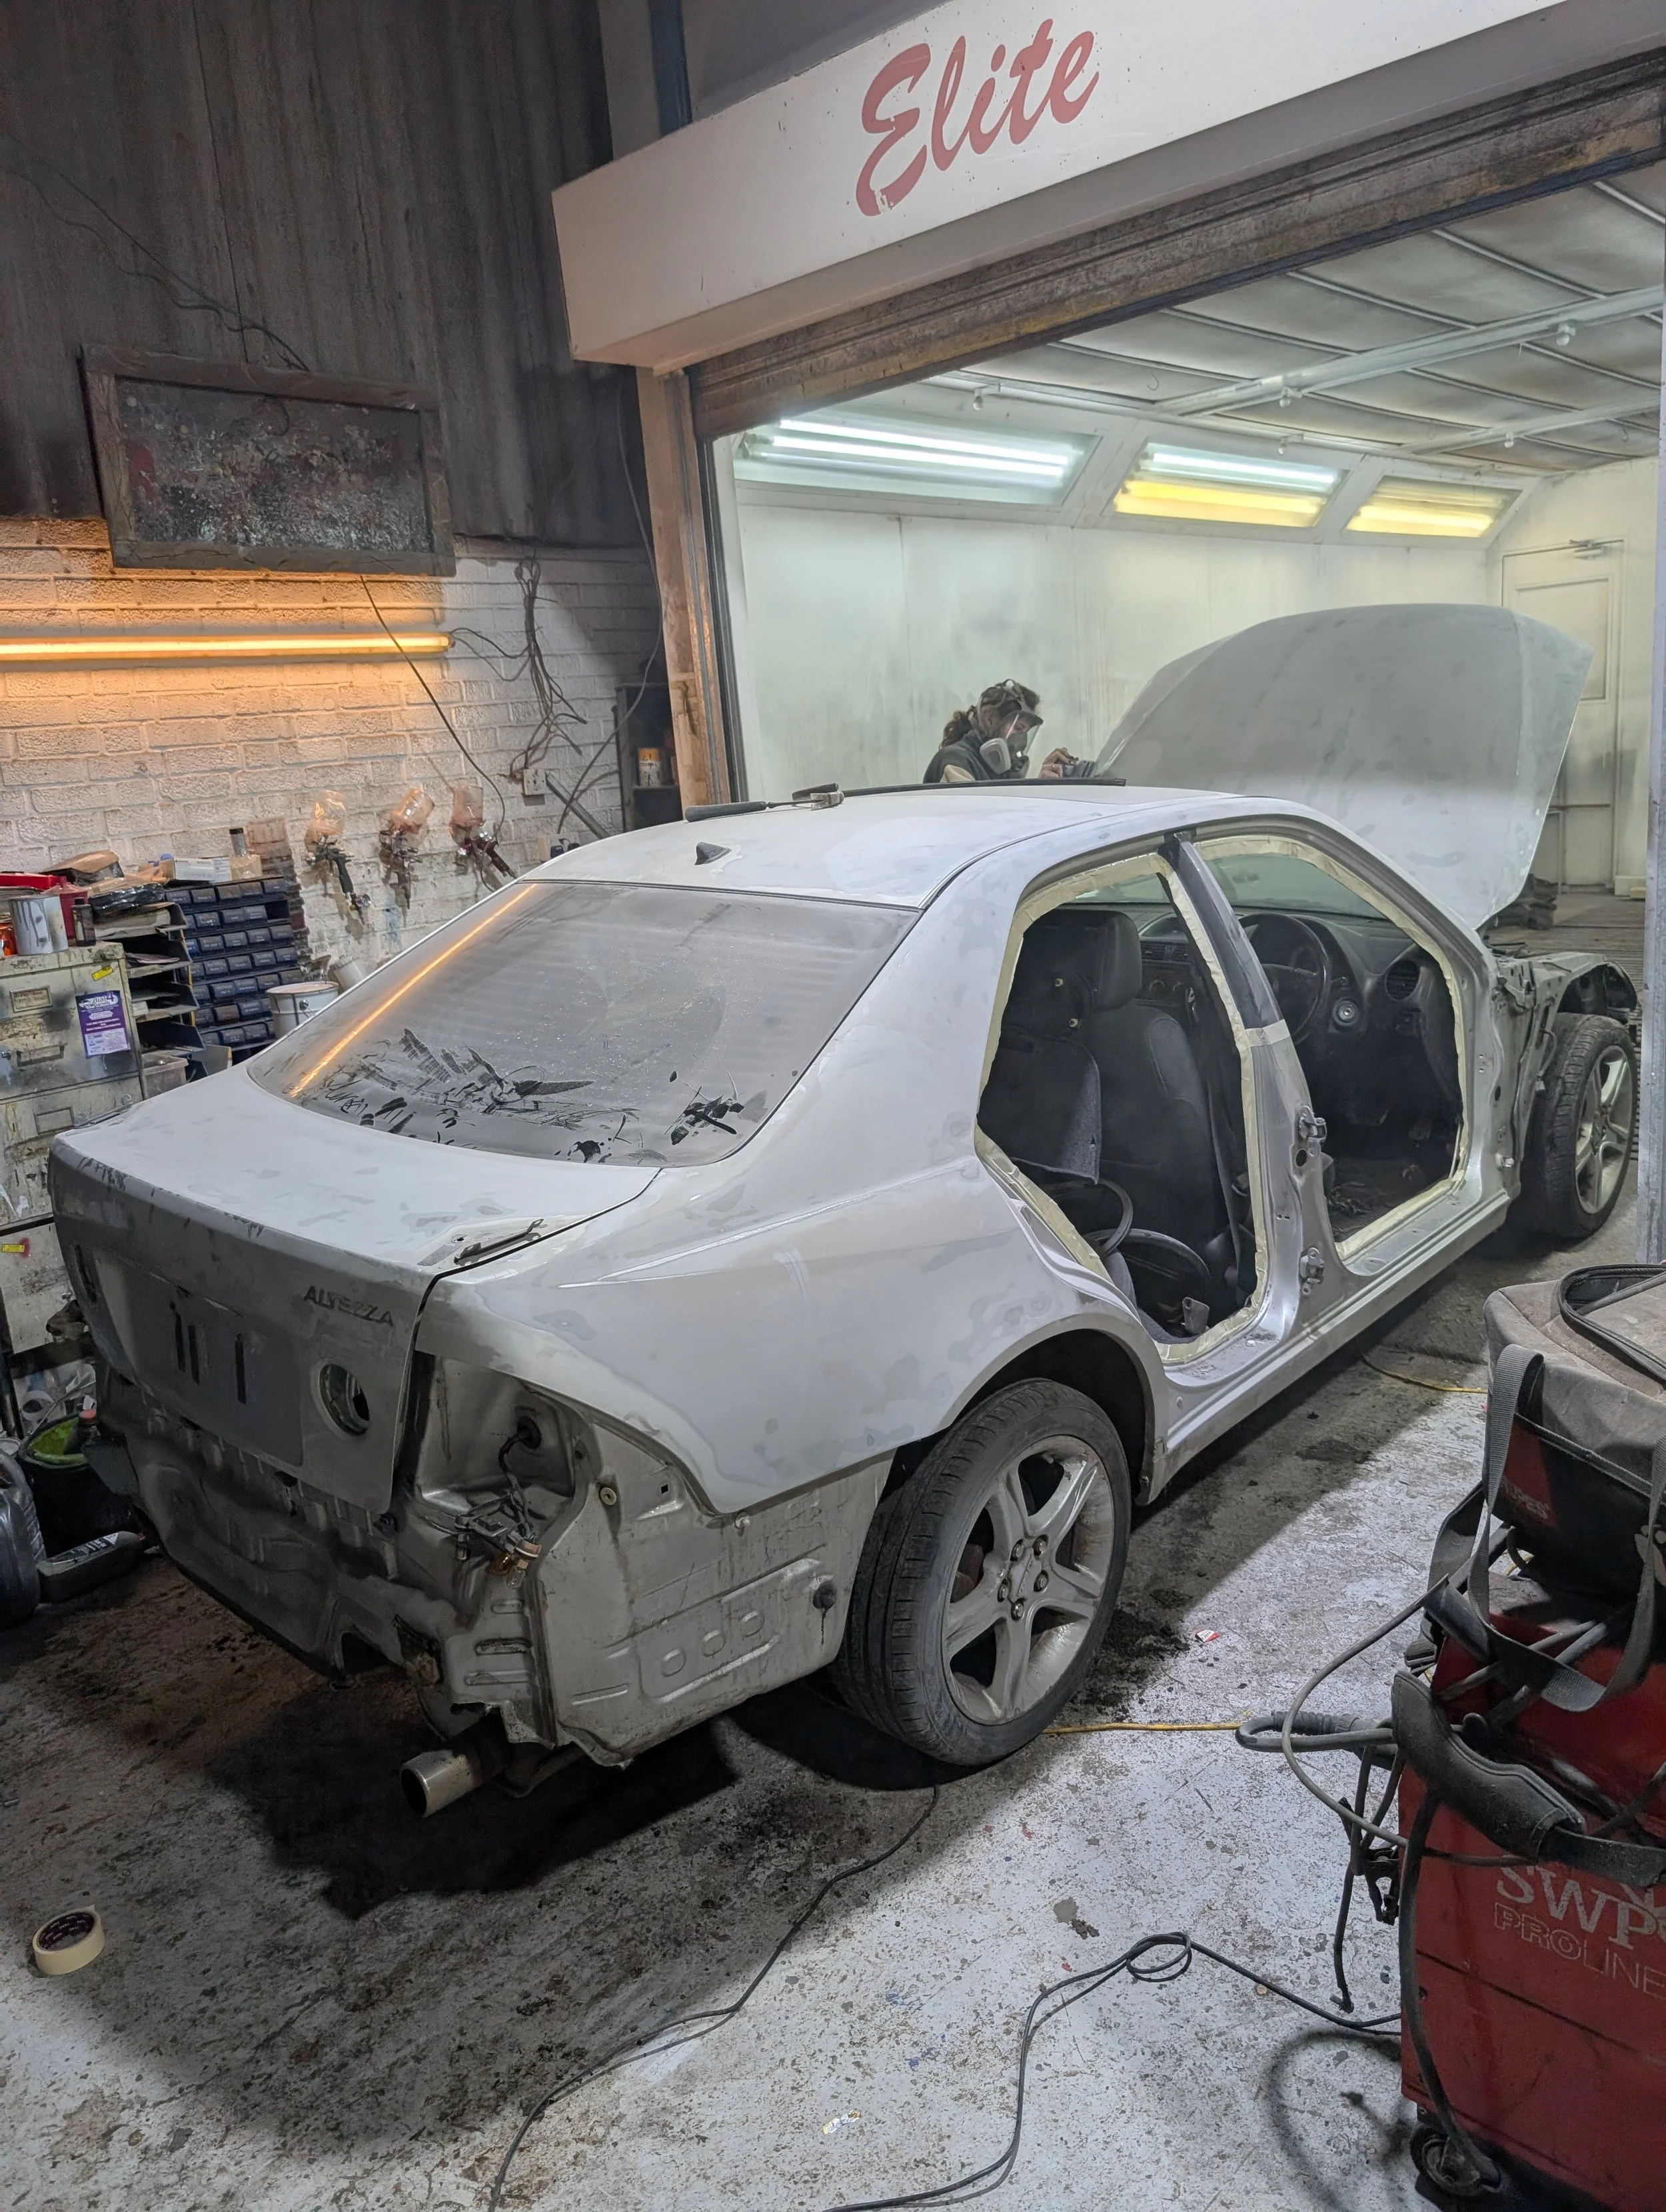
In short, this altezza came in in pretty poor condition on the exterior.
Work carried out:
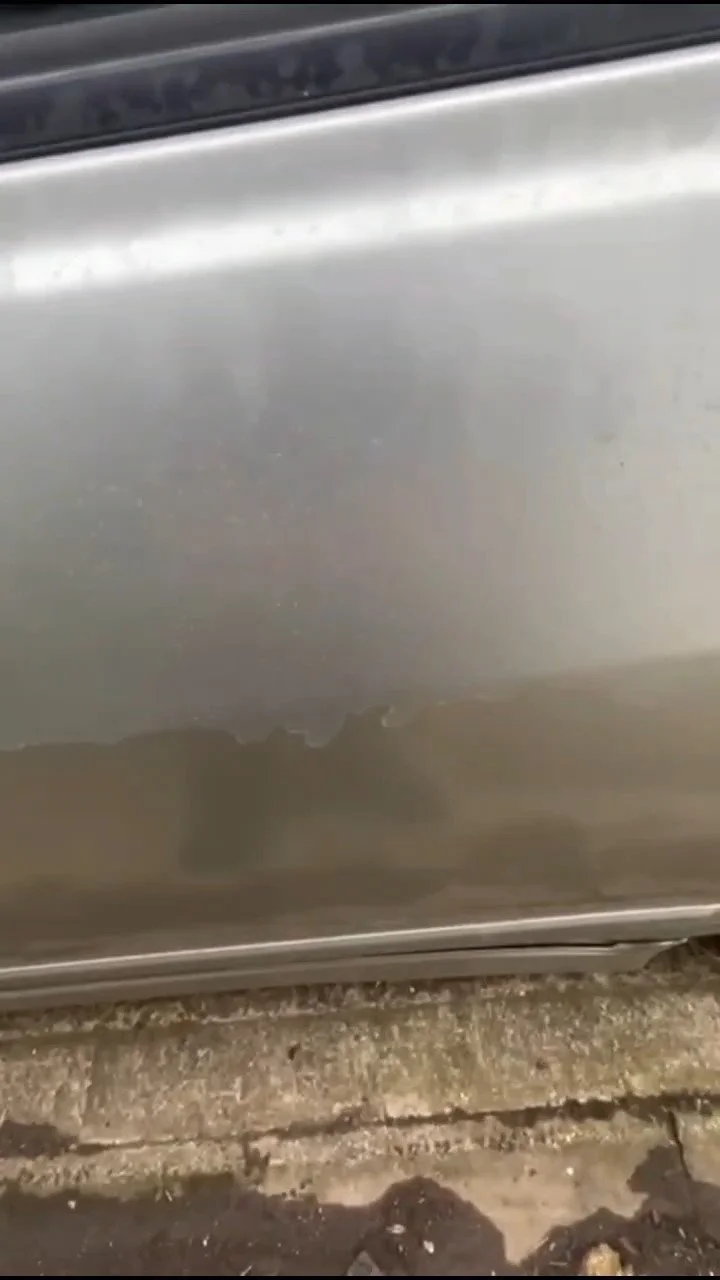
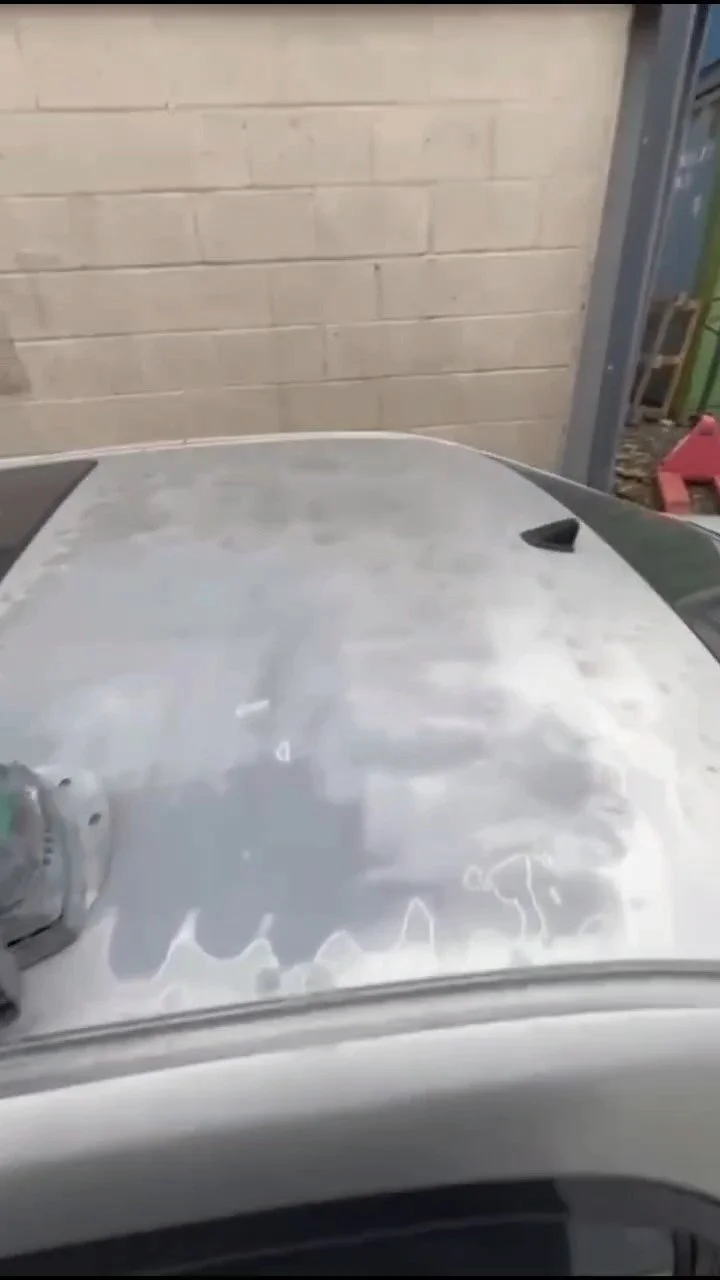
Before we could even start stripping down the car, all of the peeling lacquer had to be removed on the entire car. To speed this up a little we used a higher gritt sand paper to strip it right back, even using a higher gritt paper this took a solid day of sanding. However if this wasn’t removed the fresh paint would be at risk of chipping off. Below is just a couple examples of just how bad the lacquer peel was. Imagine this on the whole car (Forgot to get more pictures… whoops)
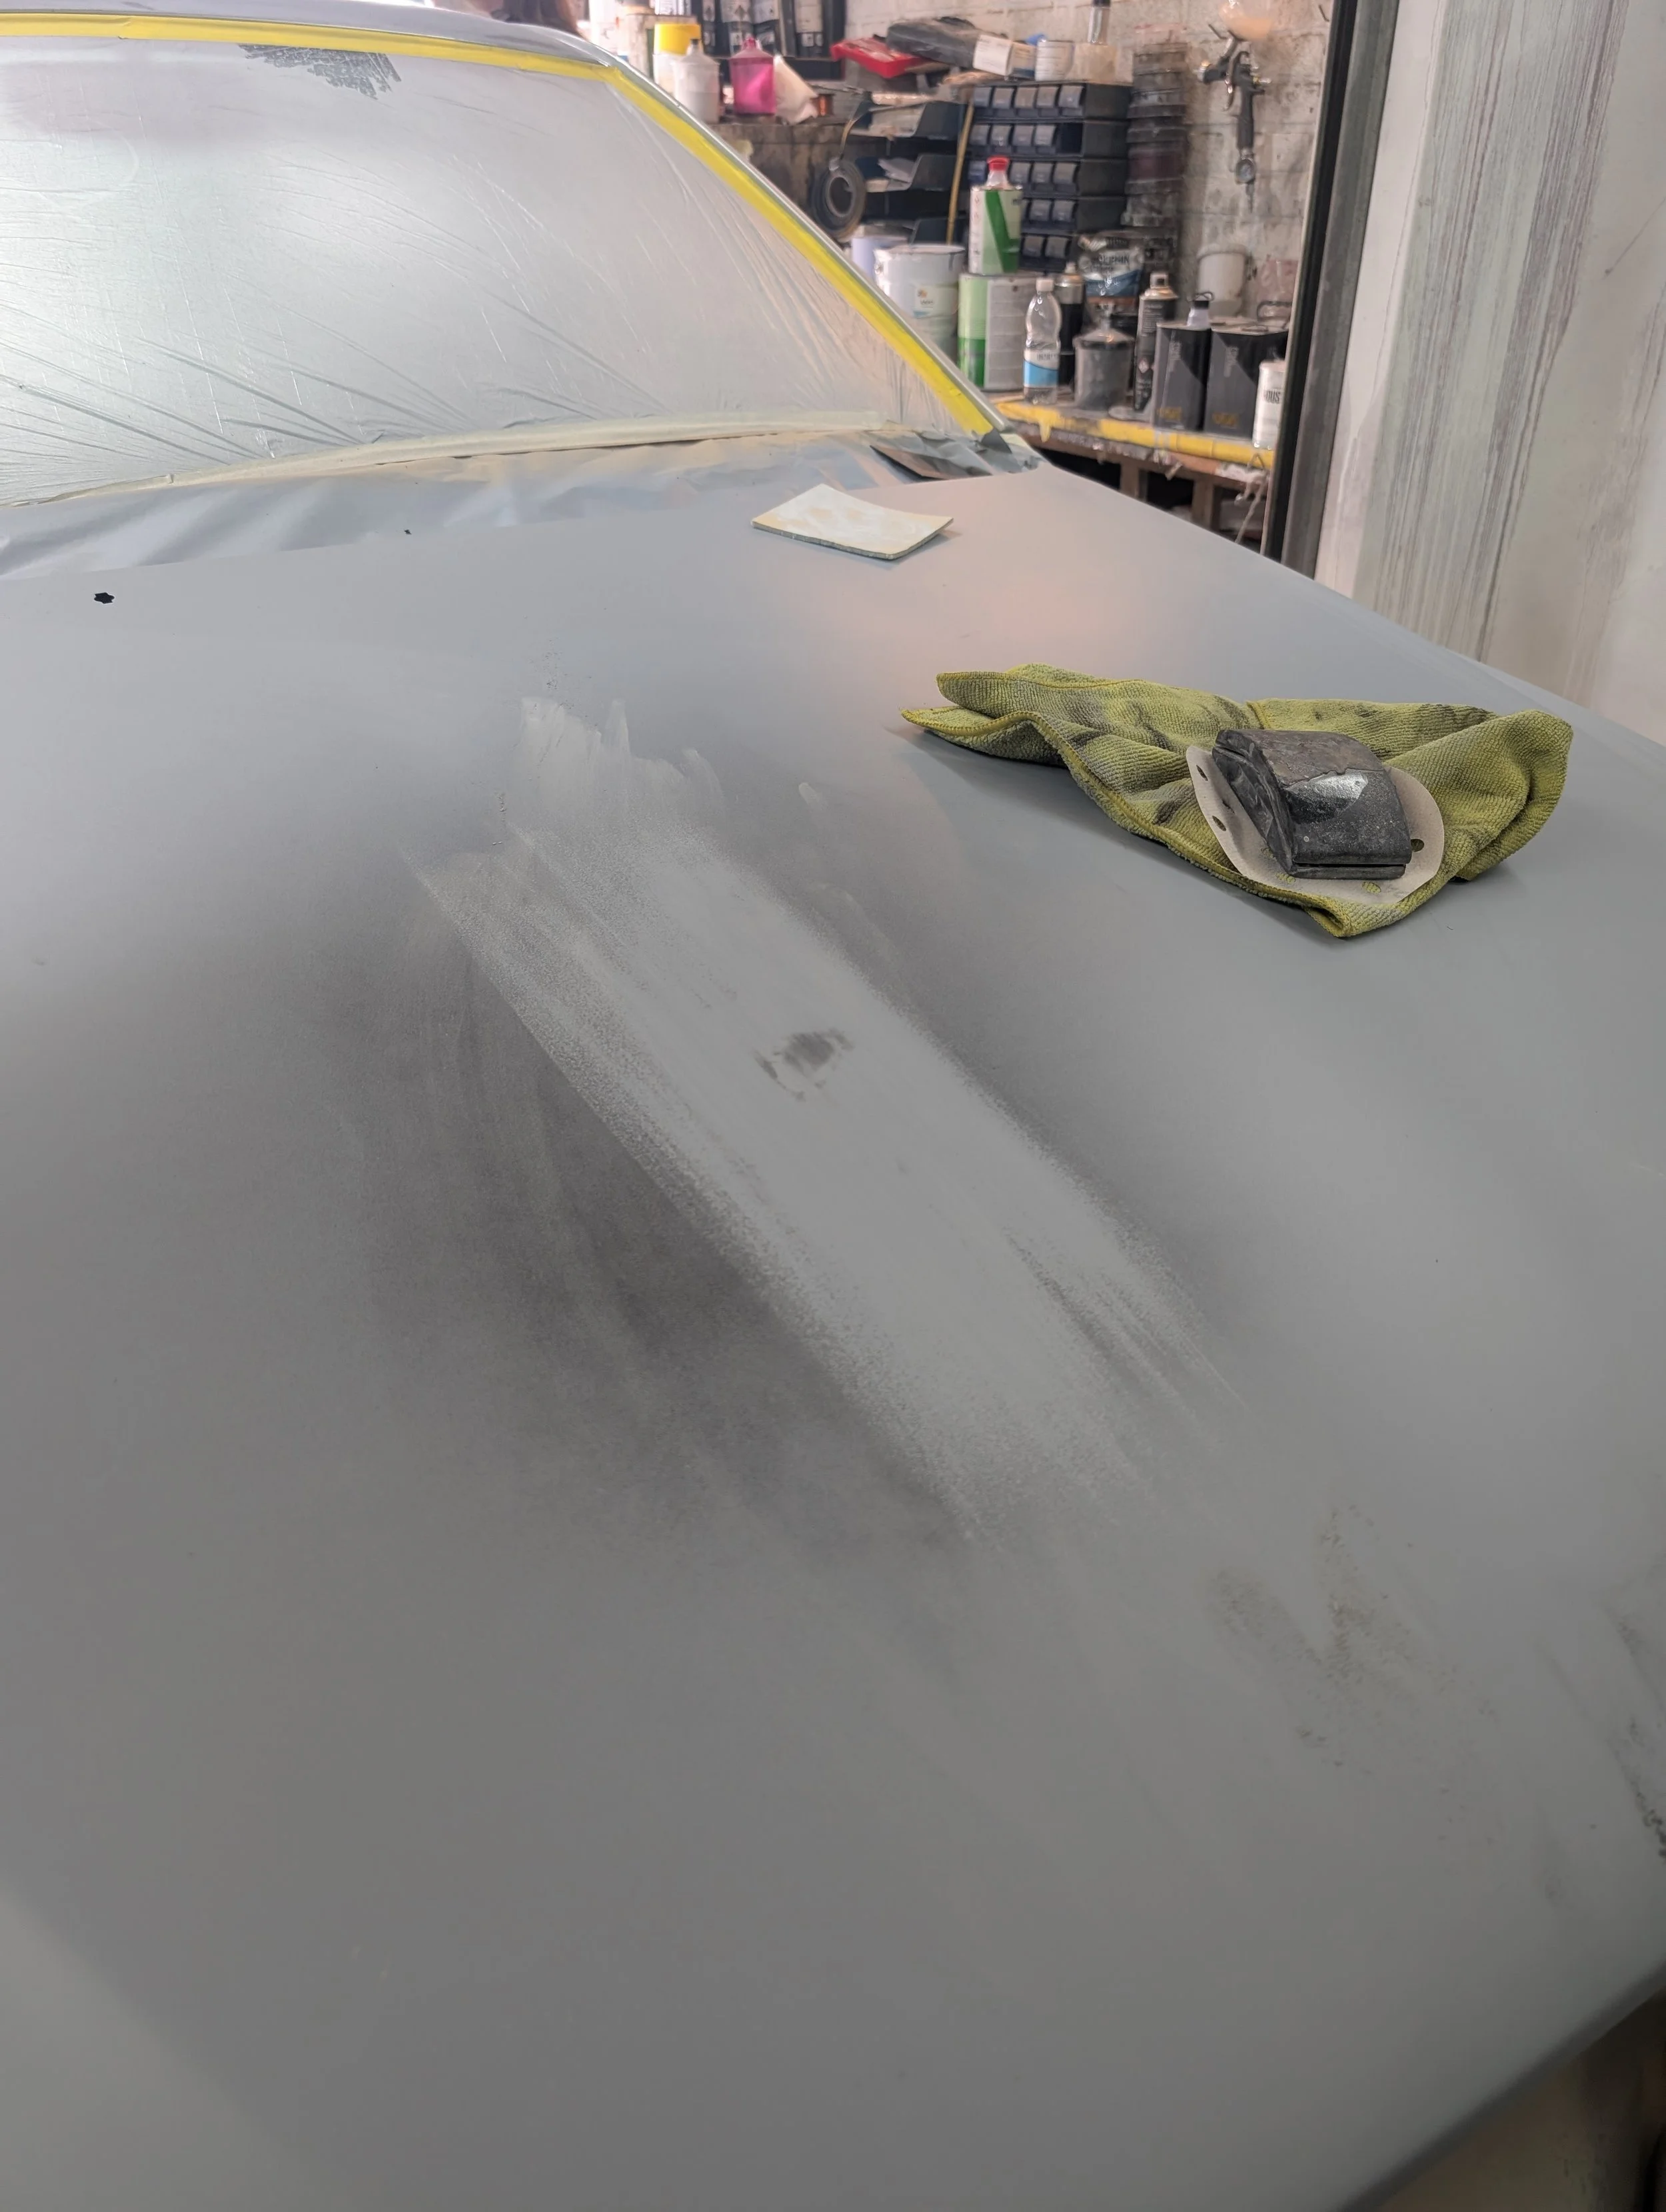
Enough about lacquer peel, more than a few areas had to be taken right back to metal, we covered these in an anti rust primer before stripping the entire car down and filler priming. Below is the entire car stripped down and filler primer applied.
This might be a good time to address an concern with the term “filler”. We will generally use a 2k epoxy filler primer on any bigger job like this, it’s completely necessary in order to ensure the entire car is dead smooth, fill any small imperfections that may cause issues later on in the painting process, as well as seal in any previous possibly reactive paint. It adds another day or 2 to the job and some extra material cost but as just explained it really does help improve the final finish with 0 downside.
When filling dents or damage with a regular body filler we’ll generally try to remove the dents as far as possible mechanically before filling to keep the thickness of the filler to a bare minimum. Our Fiat 124 spider write up is a great example of this.
As always a lot of this really depends on the level of job we’re completing and budget, as I’m sure you can imagine it would require a significant time investment that for a lot of our customers just isn’t in the budget or even worth the time.
Below are some of the pictures of the dents and dings we had to sort out after the filler primer went on.
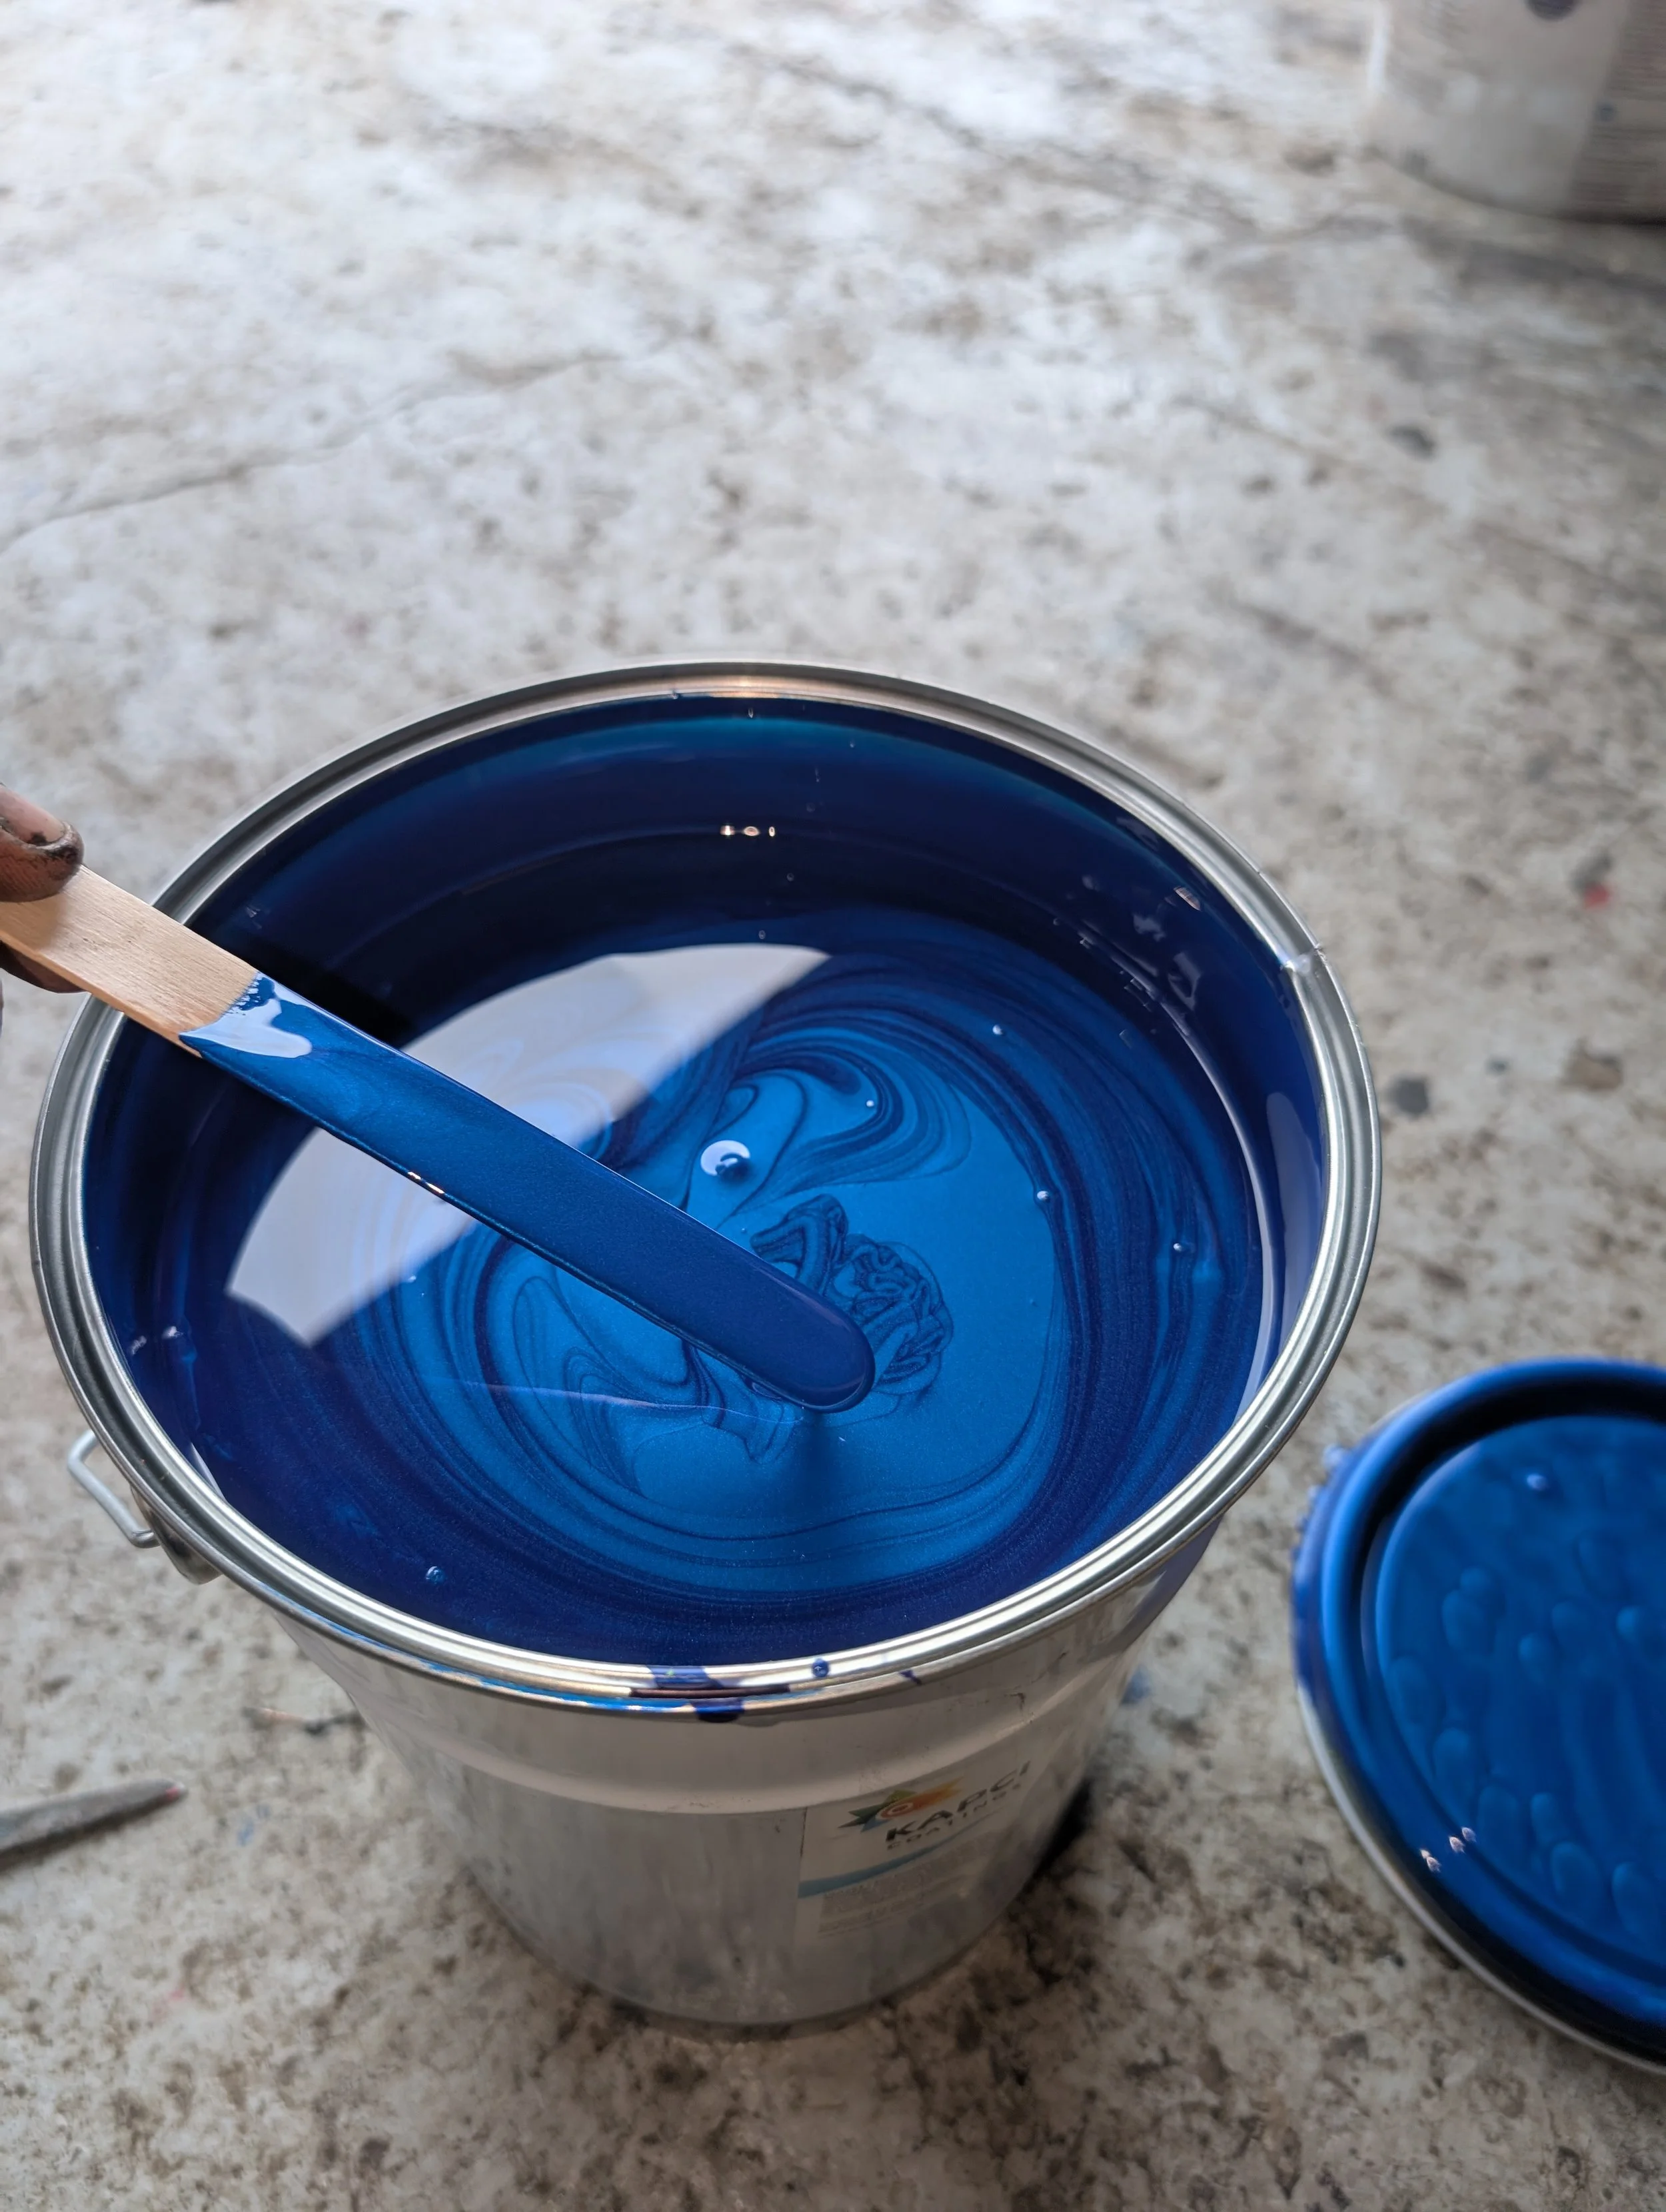
After filler priming and blocking down the body and panels we could finally move onto painting, we did this over 3 days in 3 different batches. And the pictures of this are all below.
This was a really fun project and our first full car respray of many to come. It presented us many challenges and the final result is extremely rewarding.